My 2014 Flying Adventures
2014 - A new year and a new Home Page. I've decided to make my
home page my newest news page. I've turned my old home page into my
Introduction page.
Jan 4, 2014
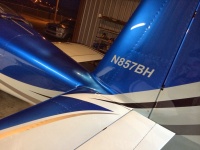
Well the time has come! After seven years of flying
around naked, I mean without paint, it's time to get it done. I flew my
plane down to Tuscaloosa Interiors in Tuscaloosa, AL to get it painted
by Bobby Potts.
Click on the picture above to see more pictures
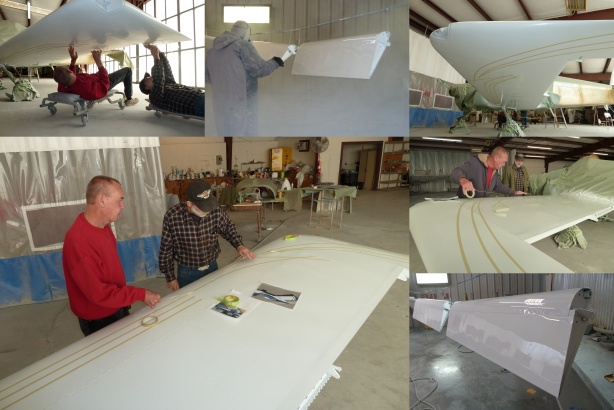
Feb 17, 2014
Talked to Bobby Potts today and he said the plane will
be ready for pickup Saturday. I can't wait. It was suppose to talk 5
wks, but it's ended up being about 6.5 wks. There were a few weather
related delays and a few sick days, so it took just a little longer but
that is to be expected. He has been holding out on
me and not sending me any new pictures. Updated pictures should be up
this weekend! Feb 19 - This morning I got a few more pictures!
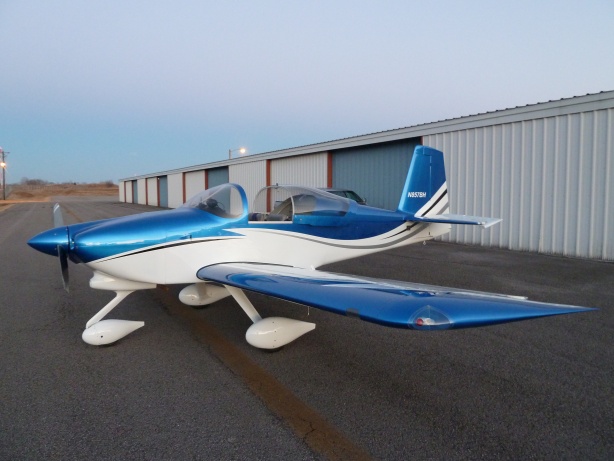
Feb 21, 2014
My buddy Finley Cooper picked me up today at sunrise and
we flew to Tuscaloosa to pickup my painted airplane! We made a stop at
Shelbyville for cheap fuel. We spent about 6 hrs. putting the control
surfaces back on. We had a 17 mph tail wind and got home right at
sunset.
Mar 1, 2014
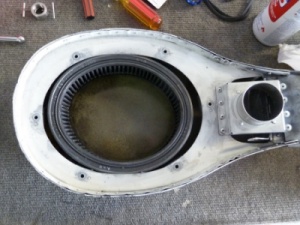
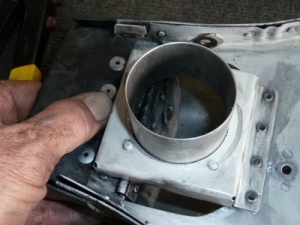
While doing my condition inspection I removed the air
filter box to replace the air filter, they shrink over time, and I found
some loose rivets on my filtered air box, so I drilled them out to
replace them. After I did I found that the top on the box was cracked
though on one side and almost on the other side. Parts on order. I also
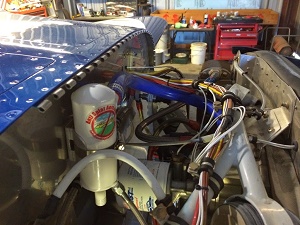
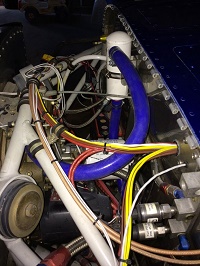
decided to install an air/oil seperator to hopefully keep the oil off my
freshly painted white belly of the plane. Got the seperator installed
but need more parts for the plumbing. Parts on order. Checked the tail
areas that the recent service bulletins cover and found no cracks.

Mar 22, 2014
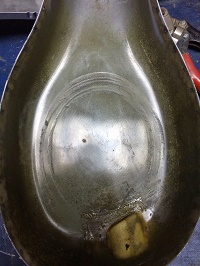
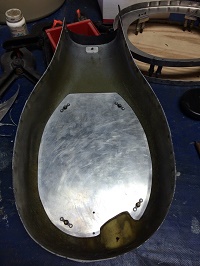
Finished up work on the filtered airbox. I made a wooden pattern to use
to transfer the holes from the old top to the new top. The bottom showed
signs of ware and I wanted to do something to stop that so I add an
aluminum plate. I rolled the edges slightly up and added four nutplates
so it could be screwed in place. I think that will be the best way to
avoid any chance of FOD in the air filer box. The work bench below was
clean when I started this project. Why is it that every project requires
almost all your tools to complete.


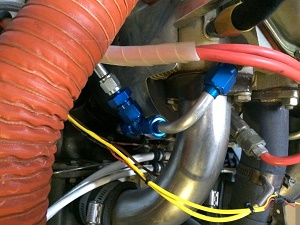
I also got the parts I needed to complete my air/oil seperator
installation. I had to add a tee in my number three oil return line,
because my engine does not have a return port in the case.

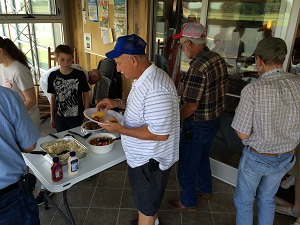
June 21, 2014
I've been gone with work for a while and have not got to fly, until
today :-) Breakfast first, flew to Owensboro and met up with some guys
that I haven't seen in a while.

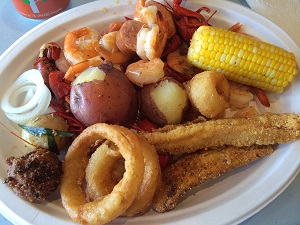
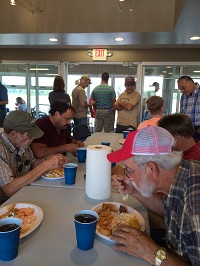
Then it was on to Mayfield, KY for lunch, with a stop at Princeton for
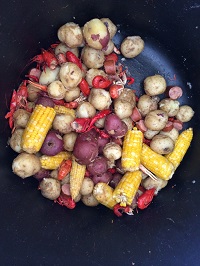
some cheap 100LL - $5.25. This was not your average Fly-In lunch. Lunch
was a Shrimp & Crawfish Boil and Fish Fry. How could I have passed this
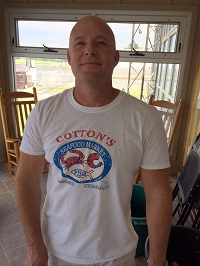
up! It was great! This is why I fly :-) Cotton's Seafood Market prepared
the seafood. Talking to to owner I found out that he moved to Mayfield
from someplace in florida and runs a seafood market and catering
service.
Aug 9, 2014
I found my RH main wheel pant was a little loose. I took it off and
found the the bolts that holsd the bracket were loose so I had to remove
the wheel to tighten the backet hardware. I normaaly borrow a buddies
jack but the last few times I went looking for it, it was not there,
time to build my own wing jack. I only need one becuase I only jack one
side at a time. I did end up finding my buddies jack long enough to
finish this job, but I am still building my own so I'll have it when I
need it. I picked up the Jack cylinder from Harbor Freight $45, I bought
the steel channel from a local metal shop $40 and got it welded at the
local weld shop $30. A few more items from Lowes $10. $150 dollars, a
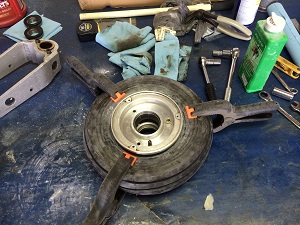
few hours of work over a few weekends and it's almost done! When I added air
to my tires I found that the front tire was ready to be replaced. So off
it came, I forgot how hard that tire can be to get off the wheel. Old
tire off and new one on, used lots of talc and a little air in the tube
to make sure it didn't get pinched during the assembly.

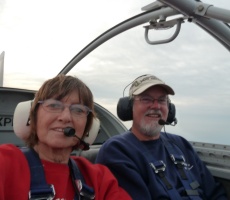
Sept 3-6, 2014
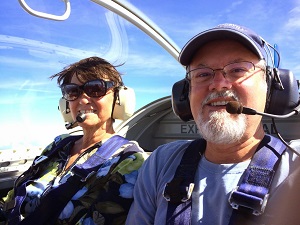
Marsha and I took a couple days off work and flew to Chicago, IL..
Marsha has family there. First time to fly into Chicago, we landed at
Schaumburg which is just a few miles west of O'Hare, pretty cool flying
in. While we were there, I saw two Garmin G3X screens for sale on VAF,
that looked like a good deal, so I bought them and found out that the
guy that had them was at an airport that was a 30 minute flight west of
where we were. I flew over on Saturday morning and picked them up. We
flew back home Sat. afternoon. Good flight both ways, Marsha really
enjoyed it! Looks like I've got some work for this winter, too much
going on until about Dec.. Might be able to get some things done before
then, but not much.


Sept 16, 2014
After seven years one of my landing light bulbs burnt out, I got a
replacement that is a little whiter light than the origanal. Only
replaced the burnt out bulb, I'll replace the other one when I get time,
so they are both the same color light.

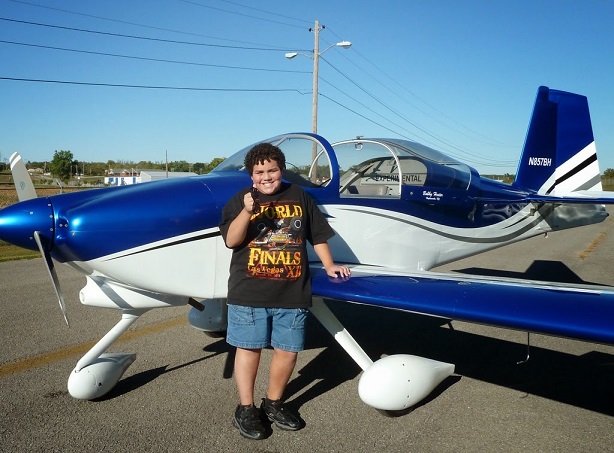
Sept 23, 2014
I saw a young boy a few weeks ago and went to the fence to talk to him.
His name is Charlie and he loves aviation. He was very excited to talk
to me and asked me questions that only another pilot might ask. He asked
about my plane, what type of equipment was in it and what kind of
headsets I used. Last week he stopped by and ask more about it. I
invited him to come sit in it. He told me what most of the things did in
it. I told him that maybe another day I might be able to give him a
ride. Well today I got to do that! I explained how everything worked and
showed him how to fly it. I gave him the controls and he did a very good
job flying it. He keep it level and did very nice turns. He had a great
time and so did I!
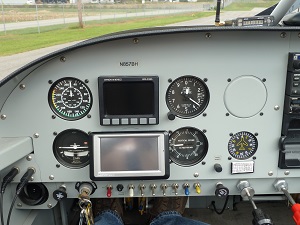
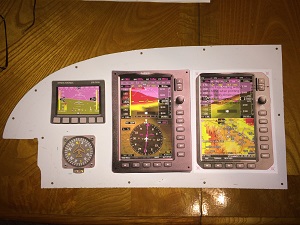
Dec., 2014
It's time to start installing the new hardware for the Garmin G3X panel
upgrade. Here is a picture of the current panel and a mock up of the new
panel.
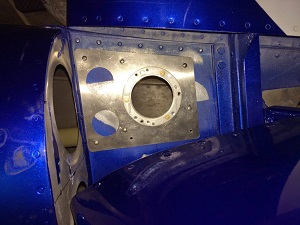
The first item to installed is the Garmin GMU 22 magnetmeter mounting
bracket, I installed it under the empannage fairing. The next item I'll
install is the Garmin GTP 59 OAT Probe, I'm planning to install it on
the right hand inspection panel under the horizonal stabilizer.

I've been working on wiring runs from the tail to the instrument panel.
Magnetometer and OAT Probe to the panel. My next project is to install
the GDL39 ADS-B receiver in the tail, run the wires to the panel and
install a UAT ant.. I'm putting all the pictures into a web album that
can be viewed by clicking on this link:
GarminG3X

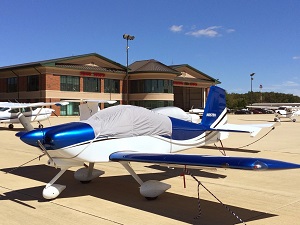
My buddy Finley Cooper flew over in his newly completed RV4 so I pulled
out my plane to get a picture of both of them together. We are hoping to
get some in air pictures some time next year. Now back to work!
|